
At least 8 minutes
A few years ago we were fortunate to have a bakery, St. George’s Organic Bakery, open up across the street from our place. They made muffins, croissants and a few other delicious treats, but their specialty was bread. Good, wholesome, simple bread. Location aside, it was my absolute favourite bread in the city. Full, round boules with a toothy crust and a light and chewy crumb. Yum, yum. It was bread-topia, and I visited frequently.
Then, about two years ago, they closed. I was completely surprised. I had talked with the owners from time to time and they always said they were doing well. They had a good wholesale business going and seemed happy with things. In fact, the “we hearby take all your chattels” letter didn’t appear on the inside of the door until two months after they closed, which would suggest that the rent was paid in full when they left. It remains a mystery and probably always will.
It was then that I said, “Well, darn it! I guess I have to learn to make bread now.” And learn I did.
Not only is bread an important source of carbohydrates, it is also portable and compact, which helps to explain why it has been an integral part of our diet for thousands of years. In fact, recent scholarship suggests humans started baking bread at least 30,000 years ago.
I’ve baked a lot of things, but I knew that baking bread was a thing unto itself, so I began by doing some research. Plus, I have a great respect for good bread, and I wanted to do it right.
 I looked through bread cookbooks whenever I found myself in a book store. I considered their approach, read through the recipes, and checked out the method and the equipment they used. After a few months I settled on Flour, Water, Salt, Yeast by Ken Forkish. I liked his method and how he laid it out; I liked how the recipes started with basic, one-day breads and built up to complex levains. Most of all, I liked the title. It conveys just how simple this 30,000-year-old food staple is and yet amazes at how much personality four ingredients can deliver.
Of course, there are two more ingredients to good bread – time and temperature – and that is where much of the nuance lies. And it is why one third of the book is dedicated to Ken’s method for making good bread over a couple of months. I read the material, then read it again, purchased the equipment, read the steps a third and fourth time, and then dove in.

This was almost a year ago. August 20, in fact, which I know since, on Ken’s instruction, I’ve kept a bread log from the beginning. I was pretty impressed with my first effort, and each successive week was (usually) better than the one before. There has been lots of improvement in the 40 attempts since those first two, learning the specifics of my kitchen and the ingredients I have access to. For the past couple of months, I’ve been regularly producing good quality loaves with minimal effort. While it still takes focused attention, I find it becoming more mantra than effort.
I chose a simple one-day loaf, the Saturday White Bread, that I could make around the Epilepsy Toronto Walk on Sunday.
For this simple one-day loaf, I begin with an autolyse period of 30 minutes. In the autolyse, the flour soaks up the water so that the yeast can consume it easier and produce good bubbles, giving the bread a cjance for a good rise.


After 30 minutes, it’s time to add the salt and the yeast. And this is the fun part, when you get your hand in there and give the dough a bunch of good squeezes and folds. As a friend of mind once told me, “It ain’t home cookin’ unless you touch every piece with your hands.” This bread definitely qualifies.


The most important part of Ken’s method for baking bread at home is folding the dough during the rise. Folding the dough activates the protein in the flour – the gluten – which provides the structure that will hold the rise in place as it bakes. Lots of bubbles make it rise, a good matrix of gluten holds the rise in place. Pretty simple, eh? Well, this is the part that took some work, and I think I’ve gotten the hang of it, pulling enough to make the gluten strong, but not so much that it tears. Best of all, the dough stays in the tub throughout this process, which makes things pretty easy to clean up afterwards.


Each of the folds take less than five minutes to complete Once you get comfortable with it, it’s a pretty easy process. The next piece of work is just to let it rise for four or five hours. So we headed to the Epilepsy Toronto Purple Walk! Epilepsy Toronto helped Beth tremendously as she considered, prepared for and recovered from surgery and she now does all she can to give back.

Knowing when to bring things to a close on the rise is always a judgment call. Let it rise too little, and the bread will miss out on the full flavour it could have. Let it go too long and the yeast begins to die off and the bread won’t rise as much in the oven. Getting it right only comes with experience.


Then comes the part I have found the hardest to master: shaping the completed dough into loaves. I’m still working to get it just right. It’s a balance of treating the dough delicately enough to keep the gluten structure in place, but working strongly enough to get the dough to do what you want it to. The videos on Ken’s YouTube channel are helpful.

The next step is also a gut check, like knowing when the rise is done, but an even more important one. Proofing is the final rise during which “the loaves reach their physical limit for holding onto their gases before the gluten network begins to break down as the proteins degrade over time.” (Flour, Water, Yeast, Salt, p 72) No pressure, right! The more bread I make, the better I get at judging it, although I still don’t know if I have it just right. I probably never will, and it’s the mystery that keeps me coming back.

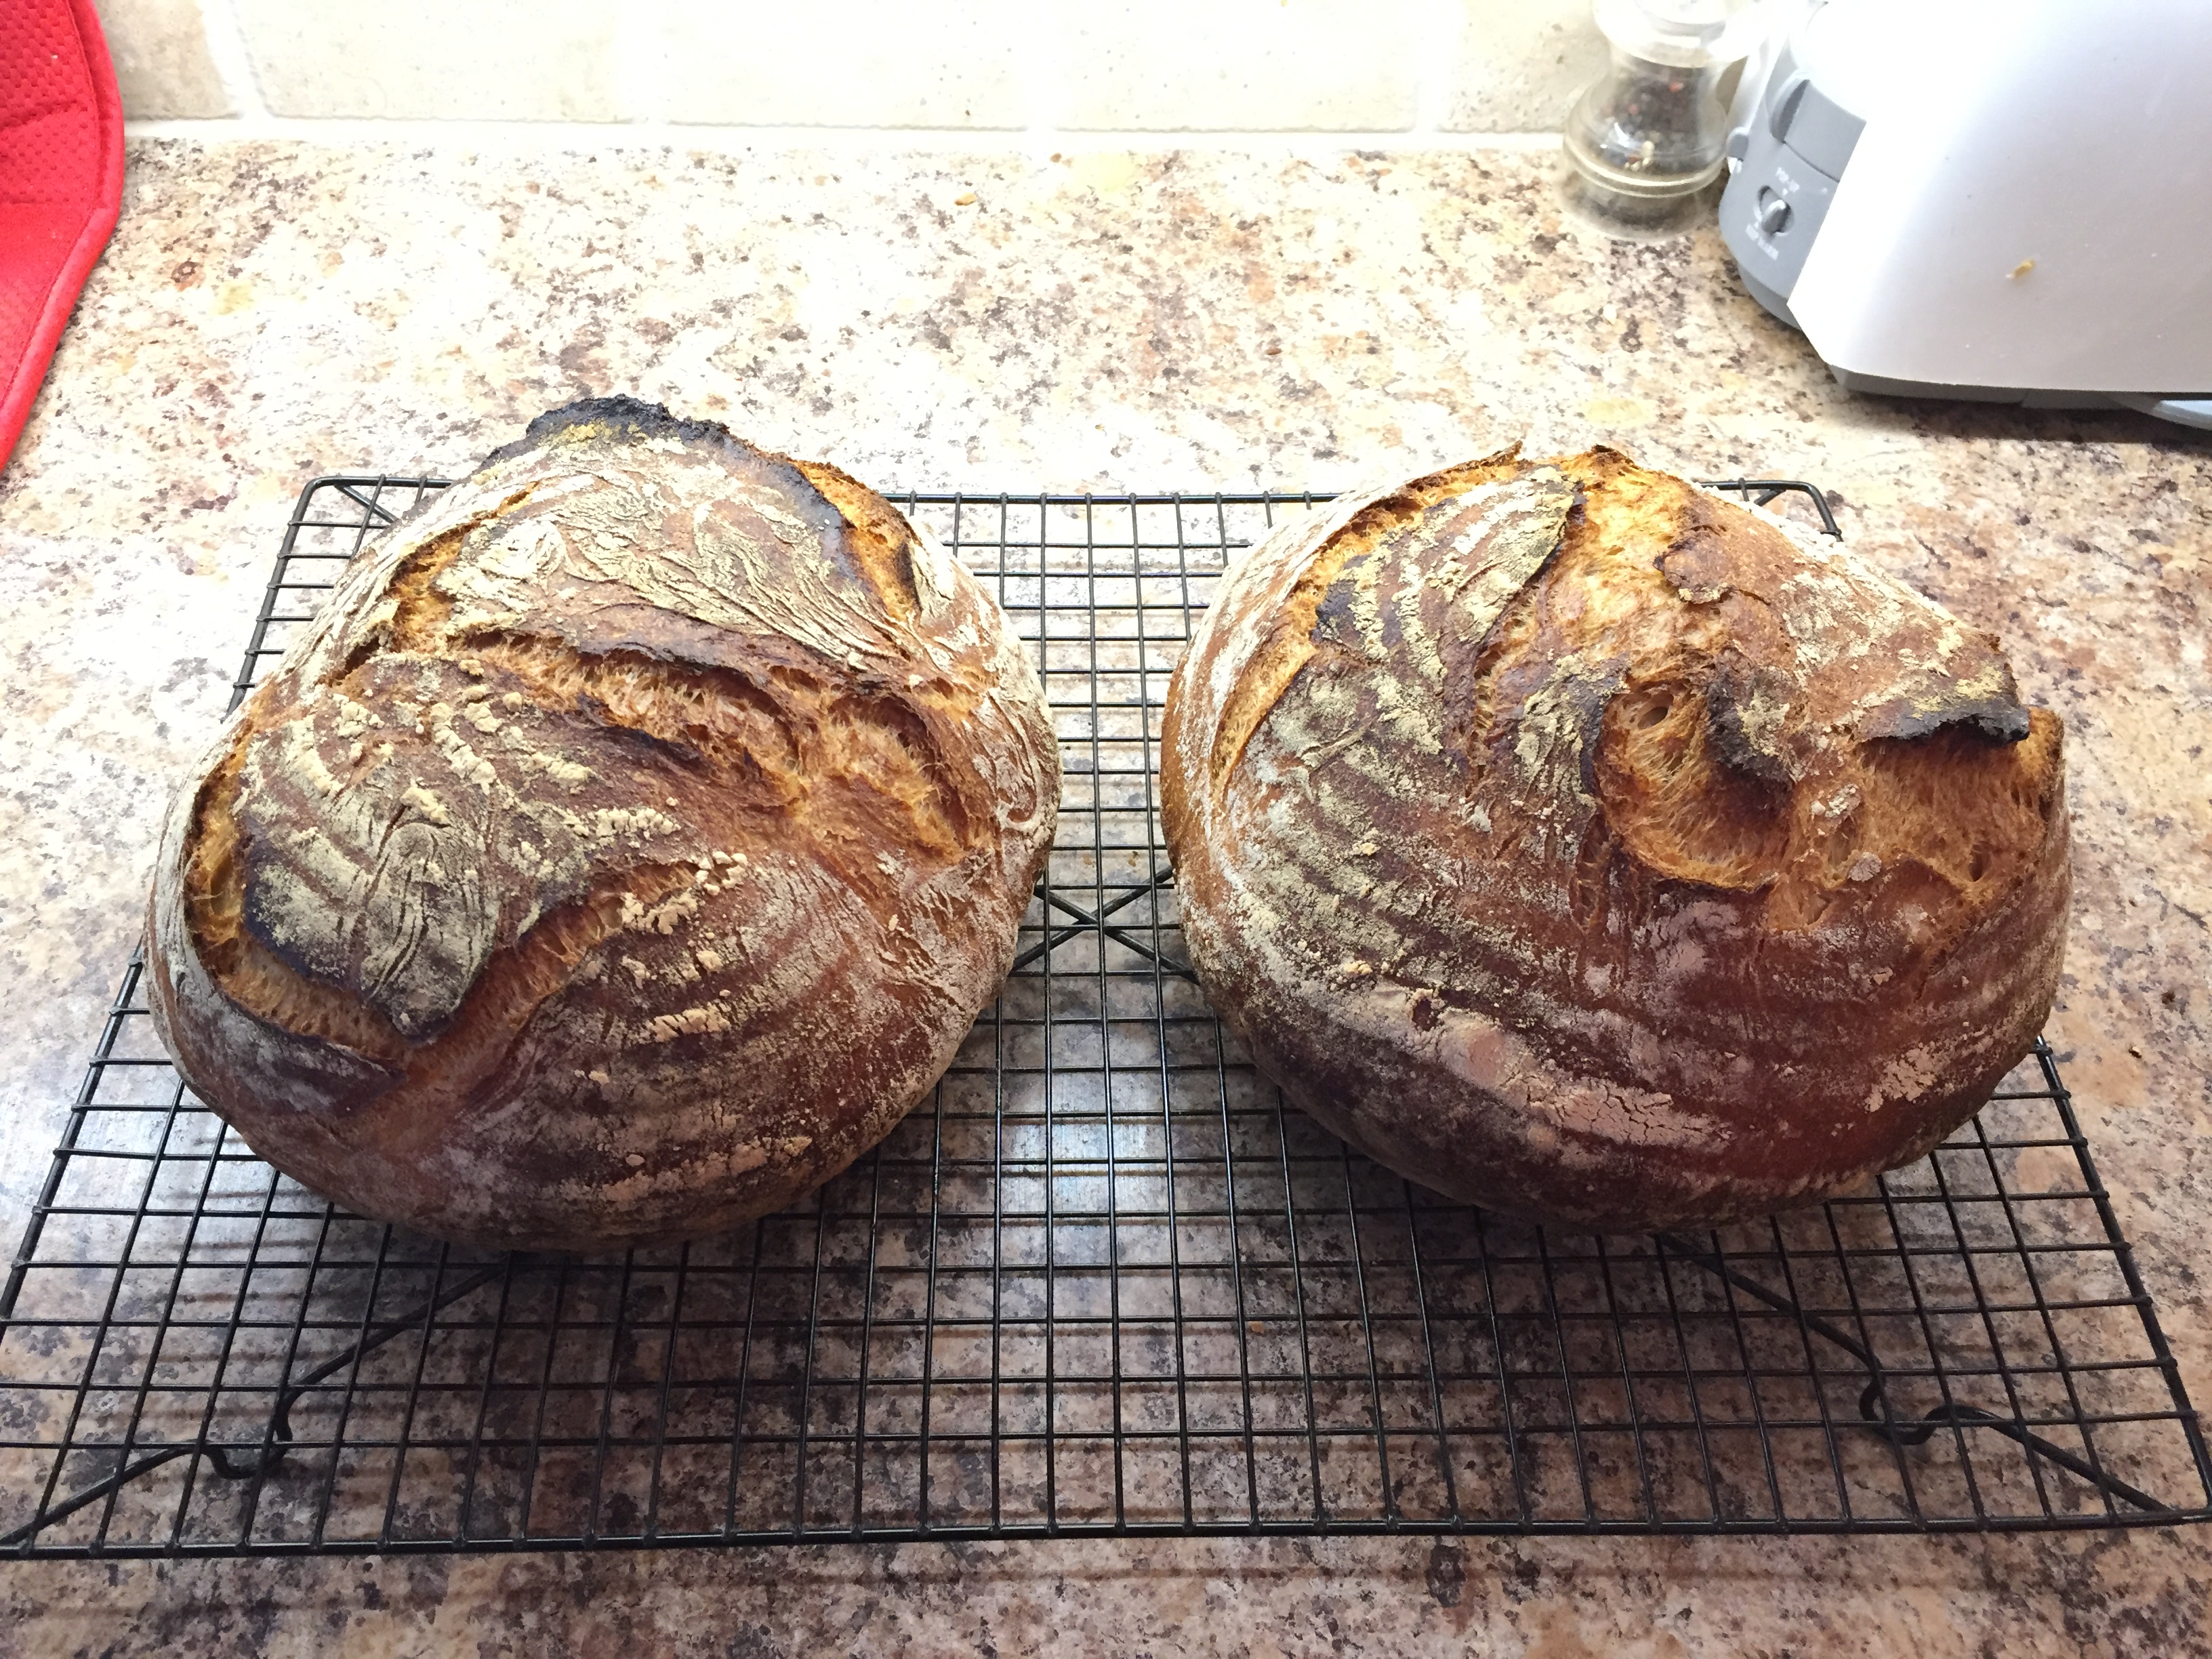
Then the easy part: pop it into the pre-heated dutch ovens and ta da! Fresh bread in 50 minutes to an hour where 7 hours ago you had none! The hard part is waiting 30 minutes to eat it, still warm, with some Earth Balance on it, but I manage.

As a plus, fresh bread makes the most amazing crackling sound when it comes out of the oven. Check it out. (You’ll have to imagine the fresh bread smell that goes along with it. I couldn’t capture that.)

These loaves turned out beautifully this week. A thin, crispy, flavourful crust with a wholesome, nutty interior from the 30% whole wheat flour. I was fortunate to get the right amount of water to soak into the bran but not make the crumb too moist. The notes in my bread log will help me remember that. After a few fresh slices on Sunday evening, this simple bread will make great toast for the next few days with avocado or fresh tomatoes on top.
The recipes in Ken’s book make two loaves, which over the past few months gave me with a nice dinner each night for a week. However, with the arrival of the humid weather the second loaf rarely makes it past Tuesday. That means I’ve been having to find friends who are willing to give the second loaf a good home. Beth’s cousin and her family were the benefactors this week.
Let me know if you’re interested! I’d be happy to show up with the extra loaf and get your story for a profile on my blog in return. We can start with our common love of good bread and go from there. I’m sure you have something wonderful to share.
